This project was a huge learning process! It included many firsts and many, many mistakes!
But I’m glad I took the time to do it. It holds lots of imperfect charm, but it makes me happy.
Keep scrolling to see more about my process.

My first attempt at wire puppets started with testing head shapes. I eventually went with something simpler.

The simpler design came from those tests. Using milliput and aluminum wire I crafted a skeleton to put clay onto. Knowing what I know now I should have given more room to joints like the knees.
I also had inserts in the feet so I could bolt them to a surface, which I never ended up doing. This was a huge mistake because I really could have used the stability. Live and learn!
The foil heads should be replaced with either balsa wood or 3d prints in the future.

Cutting by hand is a bit of a pain, and it can lead to a lack of consistency across mouth shapes.
When I do this again I will look into ways to make more consistent mouth shapes so that I can have more of them. Mouths wear out after being pressed into clay time after time.

Paper mouth cut-outs! I honestly have so much fun at this stage, mostly because I sit and make funny faces as I figure out the right shapes for mouths. I drew from previous experience from working on projects at Nug Nation in Denver.
Seeing the mouths in place was a great feeling. The paper serves as a really good contrast to the clay.

Part of the learning process was figuring out that clay can be VERY hard to work with. It’s messy, and I still have black spots in my carpet.
Additionally paler colors like white, or off whites used for skin, stain easily. This muddies the clay over time, and is visible in shots. To solve this in the future I would either come up with a procedure for handling clay, or have replacement heads ready to go.
Large chunks, like the body here, are prone to cracking and “drying out” with use. This is challenging to deal with on even short shots due to the fact that every second is 24 frames.
I also need to realize that I should work smarter not harder. This character is never seen below the chest, so modeling the full body wasn’t necessary.

Galahad was definitely my favorite character in this piece. He’s kindof goofy looking, with that dead funko pop stare. I love it.
The hair came out really well! But once again we can see that pale tones stain easily.
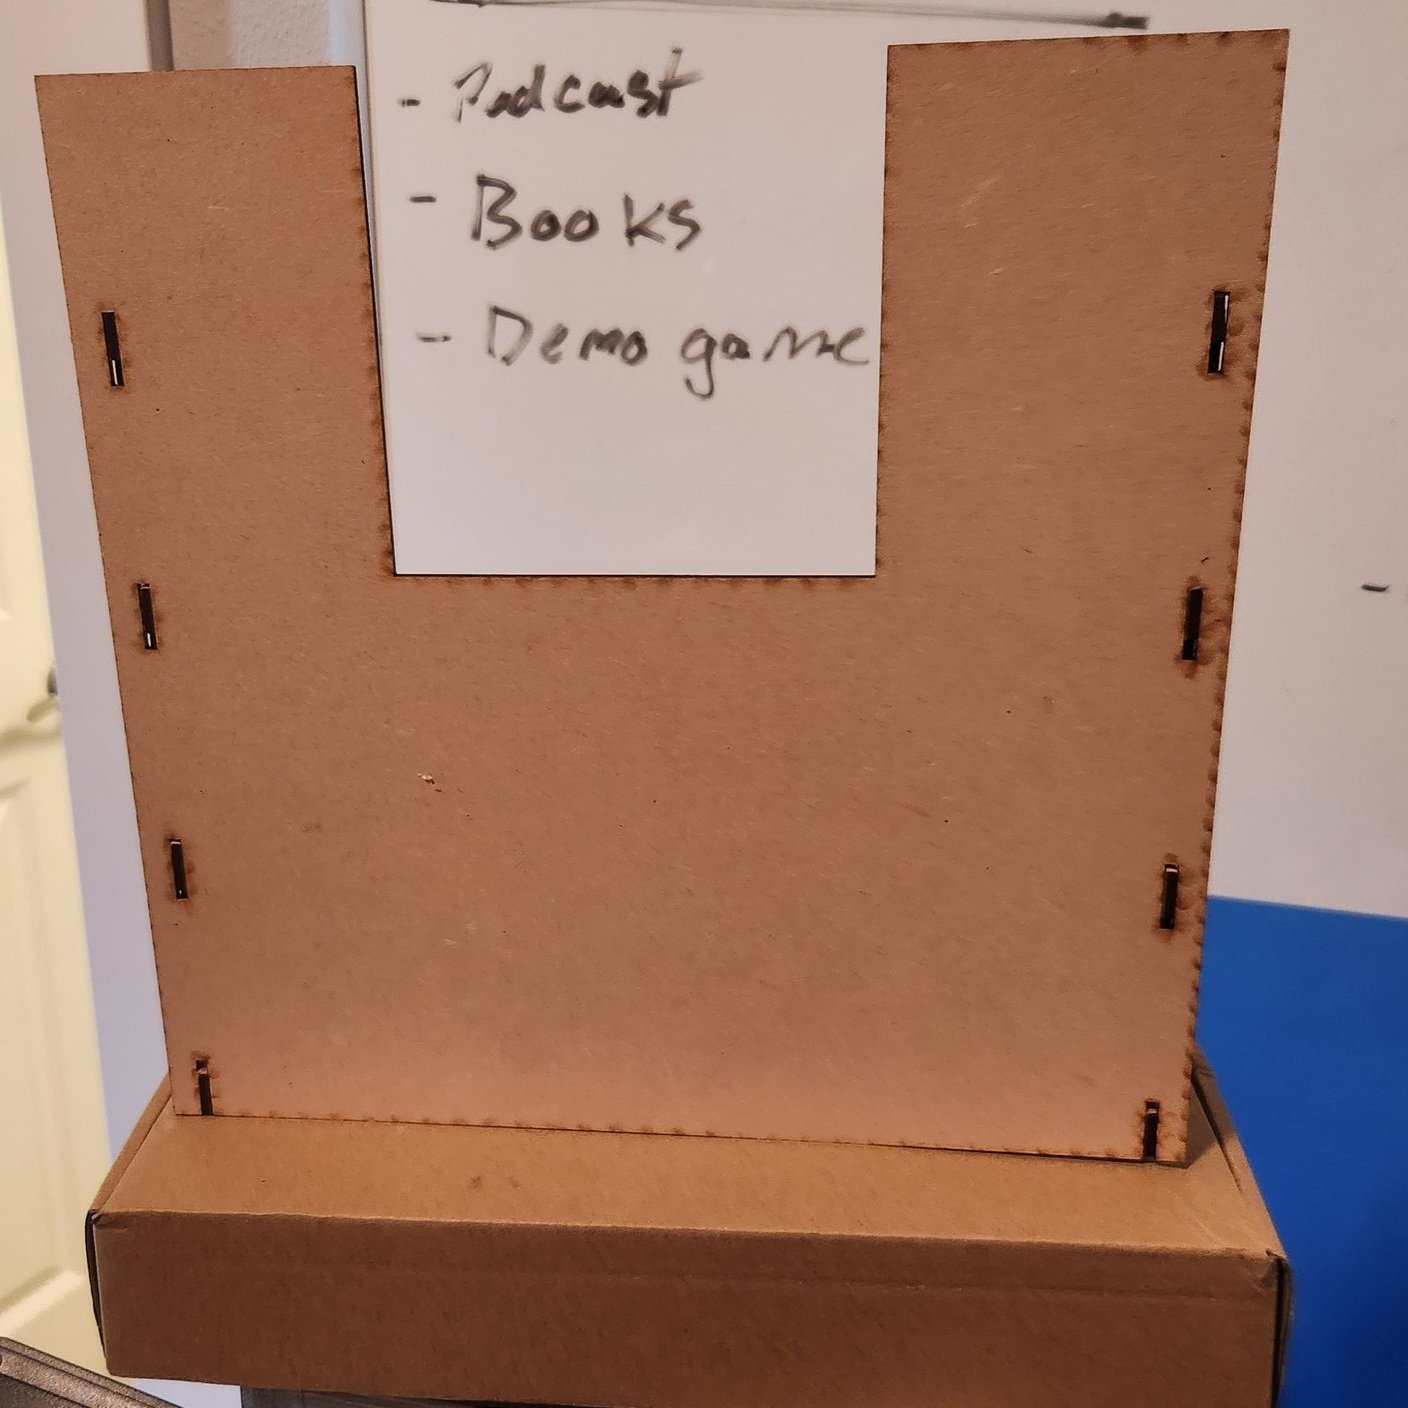
The castle is another favorite part of mine! Laser cut mdf was a great way to go for this. The only problem was that it is extremely light, so would move a lot with even the slightest taps. In the future something like this should be clamped down to prevent movement.

Spackling compound helps cover wood joints and is easily sandable. Could also be used for stone texture!
Testing the platform that the Frenchman would stand on.

I love building and painting things! This paint job was achieved with dabbing makeup sponges all over the piece. The black lines lent a “crafted by a child” look.

Lights, camera, action! Like most of my projects I shot this at home. You’ve gotta use what you’ve got!
And What I had was an Ikea 2x2, some paper, and a tripod. Make the most out of it, and build worlds!
Thanks for reading!